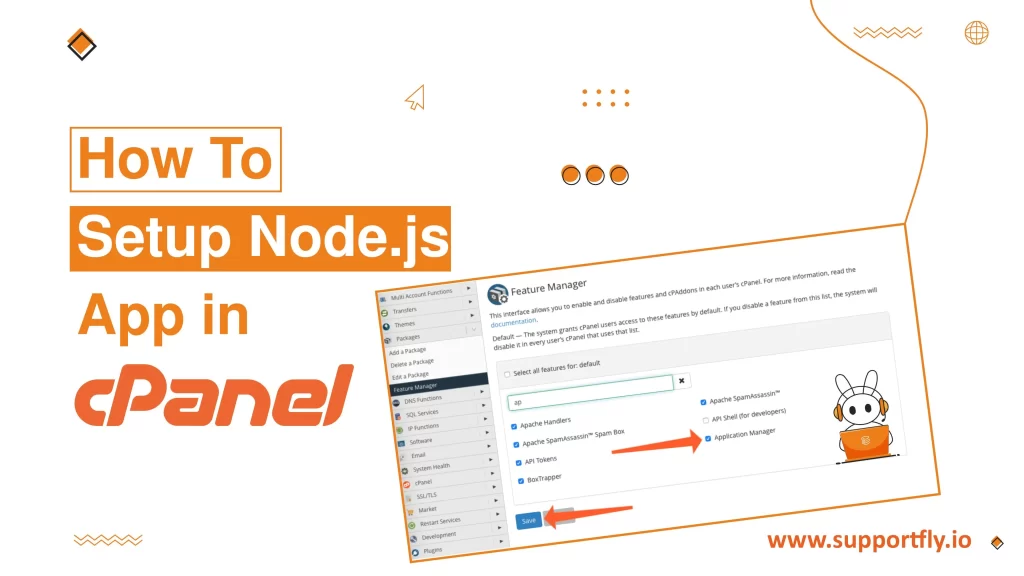
Setting up a Node.js application on your hosting account using cPanel might sound like a daunting task, especially if you’re more familiar with front-end technologies or just starting with server-side management. However, the process is quite straightforward once you understand the steps involved. In this blog, we’ll walk you through setting up a Node.js app in cPanel from start to finish, using simple language and clear instructions.
This blog is a part of our cPanel server management services where we make sure your cPanel server works efficiently with any issues.
Table of Contents
What is Node.js?
Node.js is a popular server-side platform built on Chrome’s JavaScript runtime. It helps in the development of scalable network applications using JavaScript. Node.js uses an event-driven, non-blocking I/O model that makes it lightweight and efficient, perfect for data-intensive real-time applications that run across distributed devices.
Why Use cPanel for Node.js?
cPanel is one of the most popular Linux-based web hosting control panels. It provides a graphical interface and automation tools designed to simplify the process of hosting a website. For Node.js, cPanel now includes a feature called “Application Manager,” which supports the deployment of Node.js applications directly, making it a convenient option for web developers.
Steps to Set Up a Node.js App in cPanel
Method #1: Setting Up a Node.js Application Using the cPanel Interface
If you’re looking to get a Node.js application up and running on your web hosting via cPanel, here’s a straightforward method to follow.
Step #1: Create the Application
To begin, you’ll need to create your Node.js application environment in cPanel. Here’s how to get started:
1. Log into cPanel: Access your cPanel account by entering your credentials.
2. Navigate to the Node.js App Tool:
- For the Jupiter theme, on the Tools page, find the Software section and click on “Setup Node.js App.”

- For the Paper Lantern theme, directly click on “Setup Node.js App” under the SOFTWARE section.

3. Create Your Application:
- Click on “CREATE APPLICATION” on the Node.js selector page.

- Fill in the application setup form with the required details:

- Node.js version: Select your preferred version from the dropdown list.
- Application mode: Choose either ‘Development’ or ‘Production’. You might start with Development and switch to Production later.
- Application root: This is the directory path where your application files will reside. This path will be appended to /home/username, forming the complete path to your files.
- Application URL: Set the URL where your application will be accessed on the internet.
- Application startup file: Indicate the initial file that will be processed when your application launches, such as app.js.
- Once all information is filled, click “CREATE.”

- After creation, click “OPEN” to view a test page, which should display the “It Works!” message, indicating that your setup was successful.

Step #2: Create the package.json File
To configure your Node.js application, you need to create a package.json file:
1. Open File Manager:
- In the Jupiter theme, navigate to Tools > Files > File Manager.

- In the Paper Lantern theme, find File Manager under the FILES section.

2. Navigate to the Application Root: Click on the application root folder in the left-hand column.

3. Create a New File: Click ‘+File’, name it package.json, and click “Create New File”.

4. Edit the package.json File: Right-click the new file and select ‘Edit’. Confirm any dialogues to proceed to the editor.

Type the following text in the editor screen:
{
  "name": "app",
  "version": "1.0.0",
 "description": "My App",
  "main": "app.js",
  "scripts": {
    "test": "echo \"Error: no test specified\" && exit 1"
  },
  "author": "",
  "license": "ISC"
}
5. Save and Close: Click ‘Save Changes’ and then ‘Close’ to exit the editor.


Step #3: Install npm
Finally, to manage and install packages for your application, you’ll need to install npm:
1. Navigate Back to the Node.js App Tool: Depending on your theme (Jupiter or Paper Lantern), click “Setup Node.js App”.

2. Edit the Application: Click the pencil icon in the Actions column of your application list.

3. Run NPM Install: Click “Run NPM Install”. This will install the necessary Node.js packages.

4. Verify Installation: A success message should appear upon completion.

Method #2: Setting Up a Node.js Application Using the Command Line
For those familiar with SSH and command-line operations, setting up Node.js this way might be faster:
1. Log in via SSH to your account.
2. Create the application: Use the command
cloudlinux-selector create --json --interpreter nodejs --version 11 --app-root app --domain example.com --app-uri app.
3. Change Directory: Move into your application directory
cd ~/app
4. Create and Edit package.json:
- Open the vi editor by typing
vi package.json.
- Enter insert mode by pressing i, then paste the content of your package.json.
{
    "name": "app",
    "version": "1.0.0",
    "description": "My App",
    "main": "app.js",
    "scripts": {
      "test": "echo \"Error: no test specified\" && exit 1"
    },
    "author": "",
    "license": "ISC"
  }
- Save and exit by pressing escape, then type 😡 and hit Enter.
5. Install npm: Execute
cloudlinux-selector install-modules --json --interpreter nodejs --user example --app-root app.
For managing your application’s running state:
Start:
cloudlinux-selector start --json --interpreter nodejs --app-root ~/app
Stop:
cloudlinux-selector stop --json --interpreter nodejs --app-root ~/app
Restart:
cloudlinux-selector restart --json --interpreter nodejs --app-root ~/app
Both methods provide strong ways to manage a Node.js application via cPanel or command line, catering to different levels of user familiarity with web technologies.
Conclusion
Setting up a Node.js app in cPanel is not as complex as it seems. By following these detailed steps, you can get your Node.js application running smoothly on your web hosting environment. Whether you’re developing a personal project or a professional web application, cPanel offers a robust platform to manage and scale your Node.js applications efficiently.


