Managing domains is an important aspect of web hosting and website management. cPanel, one of the most popular web hosting control panels, offers a comprehensive suite of tools for domain management, making it straightforward for users to add, remove, and manage their domains and subdomains. In this blog, we’ll understand how to use the Domains tool in cPanel to effectively manage your online presence.
This blog is a part of our cPanel server management services where we make sure your cPanel server works efficiently with any issues.
Table of Contents
Understanding the Domains Tool in cPanel
The Domains tool in cPanel is designed to simplify the process of domain management. It allows users to add new domains (Addon Domains), create subdomains, set up domain redirects, and manage parked domains (Aliases). Understanding each function within the Domains tool is key to effective domain management.
How to use the cPanel Domains tool
The cPanel Domains feature allows you to easily create and manage all the domains, subdomains, addon domains, and aliases for your account in one convenient place.
Starting the Domains tool
To access the cPanel Domains tool, follow these simple steps:
1. Login to cPanel and open the Domains tool:
- If you have the Jupiter theme activated, navigate to the Tools page, find the Domains section, and then select Domains.

- If the Paper Lantern theme is active, go to the cPanel home page, look for the DOMAINS section, and click on Domains:

The sections below provide detailed instructions on how to utilise the features of the Domains tool.
Listing and Searching
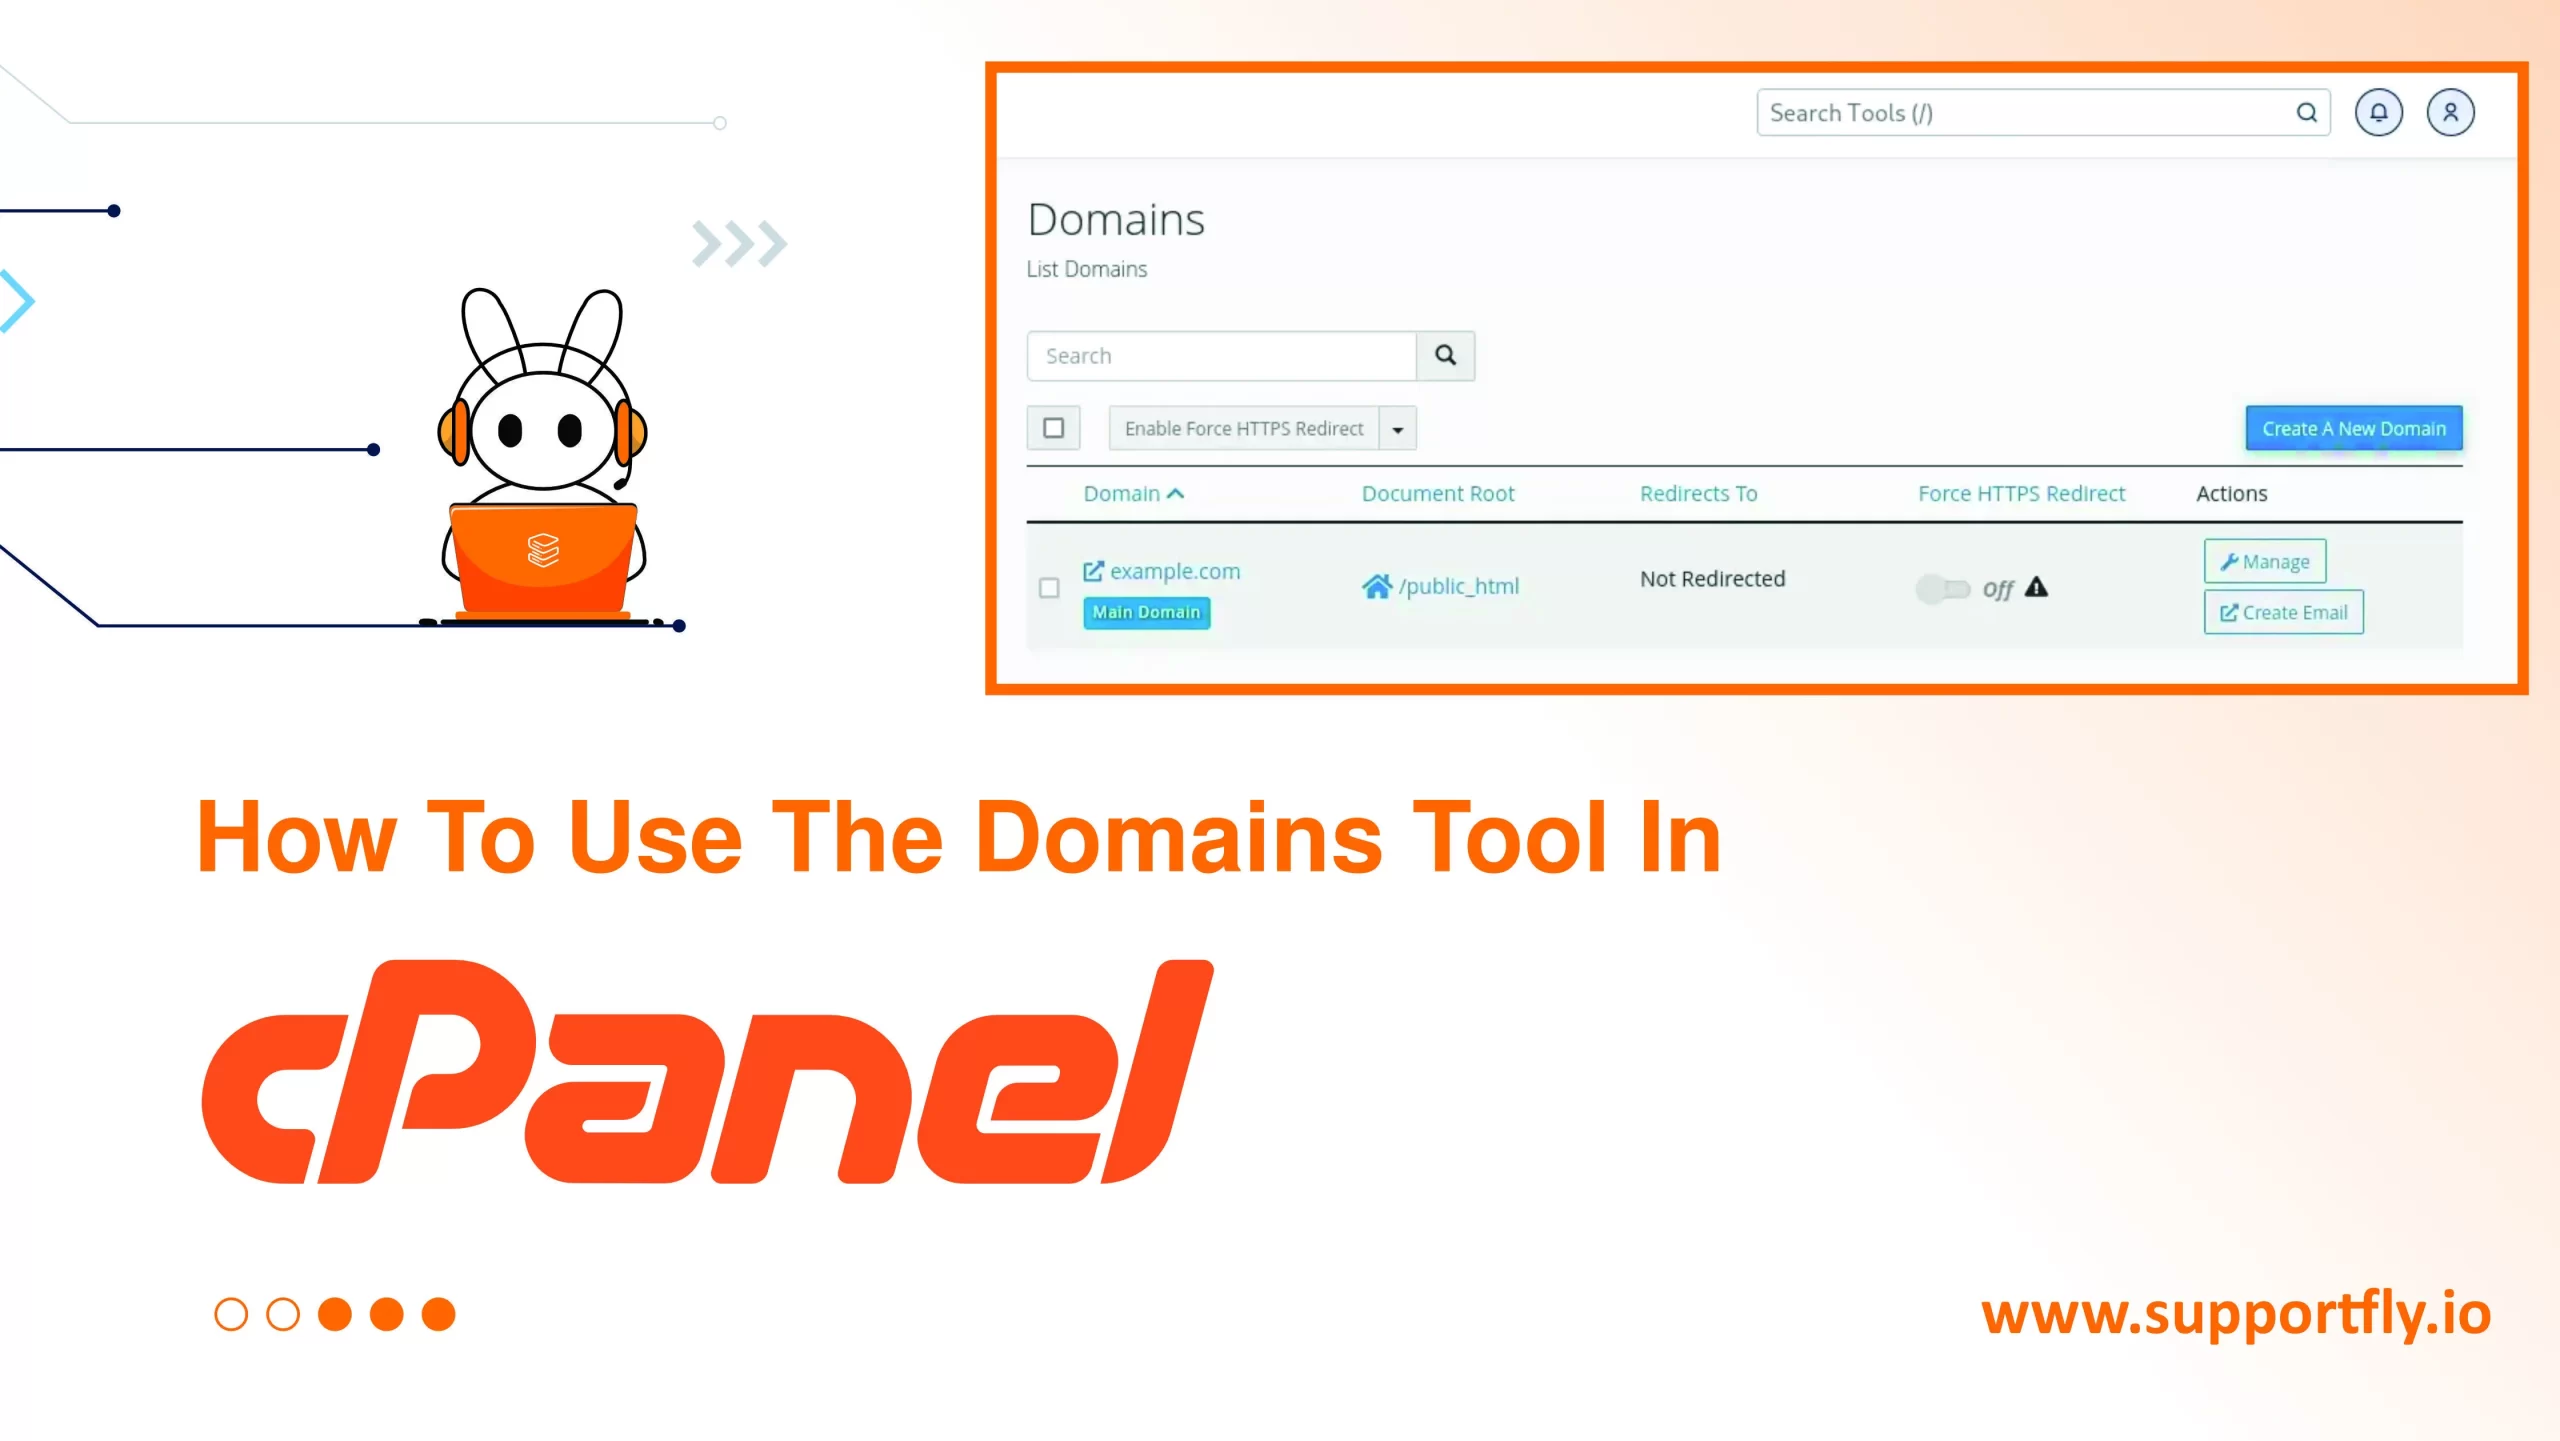
The main page of the Domains tool displays a list of all your domains. If you have multiple domains and need to find a specific one, you can utilize the Search box for this purpose.

The list of domains offers two “Actions” options for managing your existing domains. To access the management page for a specific domain, click on “Manage”. If you wish to create a new email account, click on “Create Email”, which will direct you to the Create an Email Account page.
Managing Existing Domains
To manage a specific domain, click on the “Manage” link located to the right of the domain name. This action will take you to the domain’s management page.
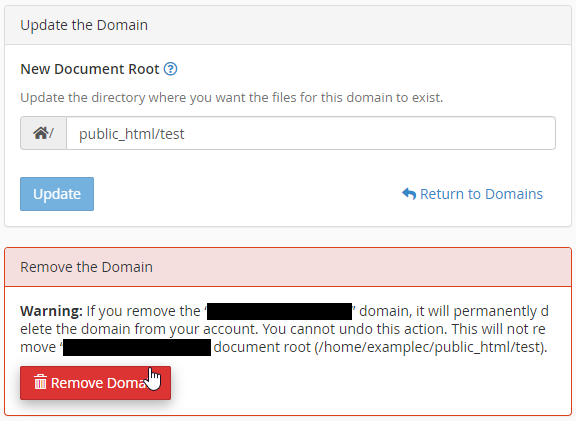
On the management page, you will find several options for managing your domain:
- To change the document root for the domain, enter the new path in the “New Document Root” text box, and then click on “Update” to apply the change.
- To delete the domain, click on “Remove Domain”, followed by “Yes, remove this domain” to confirm. Note that the primary domain cannot be deleted.
Additionally, the management page provides options for further domain management and enhancement:
- “Create an Email Address” allows you to set up a new email account associated with your domain.
- “Create a Site with Site Publisher” offers a quick way to launch a new website using pre-designed templates.
- “Modify the Zones” lets you edit the DNS settings of your domain for advanced domain configuration.
- “Modify the Redirects” enables you to set up redirection rules, directing visitors from one URL to another.
Creating New Domains
In addition to handling existing domains, the Domains tool allows you to create new addon domains, subdomains, and aliases.
Creating Addon Domains
To add an addon domain using the Domains tool, you can follow these instructions:
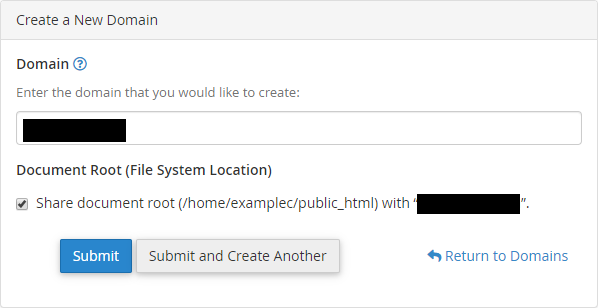
1. Start on the main page of the Domains tool and select “Create a New Domain.” This will bring you to the “Create a New Domain” page.
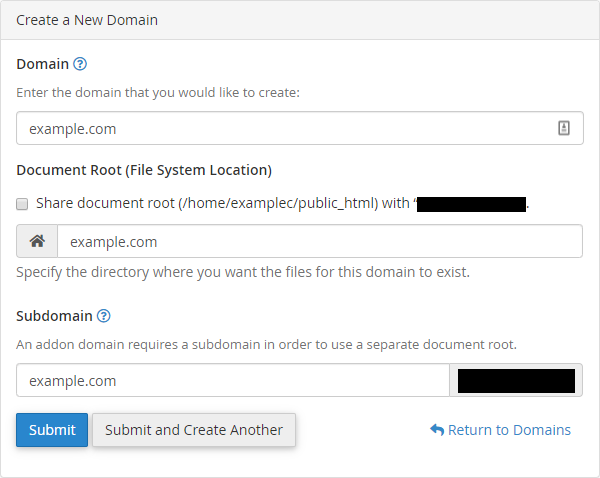
2. Enter the desired domain name into the “Domain” text box.
3. Uncheck the “Share document root” box to specify a unique document root for the new domain.
4. In the “Document Root” text box, input the directory you wish to use for the domain’s files. You can either type in your own directory path or use the suggestion provided by cPanel.
5. For the “Subdomain” text box, input a name that will help you identify the addon domain. You can either come up with your own name or use the suggestion made by cPanel.
6. To finalize the addition of the new addon domain, click “Submit.” If you’re planning to add multiple addon domains, click “Submit and Create Another” to continue adding domains without having to return to the main page.
Creating Subdomains
To set up a subdomain with the Domains tool, here’s what you need to do:
1. On the Domains tool main page, select “Create a New Domain.” This action opens the “Create a New Domain” page.
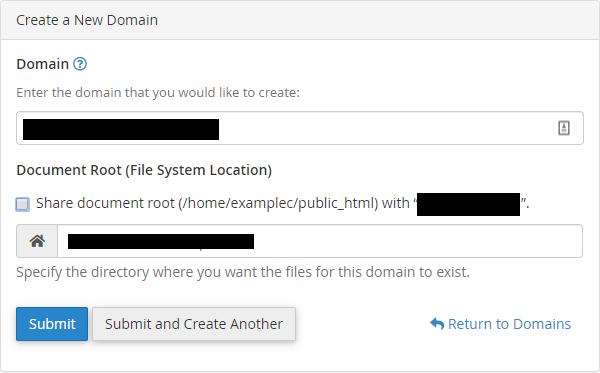
2. Input the name of the subdomain you wish to create into the “Domain” text box.
3. Make sure to uncheck the “Share document root” box to assign a unique document root for this subdomain.
4. In the “Document Root” text box, enter the directory where the subdomain’s files will reside. You can specify your preferred directory or opt for the one suggested by cPanel.
5. Click “Submit” to complete the creation of your new subdomain. If you intend to create additional subdomains, choose “Submit and Create Another” to proceed without having to navigate back to the start.
Creating Aliases
To add an alias (formerly known as “parked domains” in previous versions of cPanel) through the Domains tool, you can follow these steps:
1. Navigate to the main page of the Domains tool and click on “Create a New Domain.” This will take you to the “Create a New Domain” page.
2. In the “Domain” text box, enter the name of the alias you wish to add.
3. Check the “Share document root” box to indicate that the alias should use the same document root as your main domain.
4. To complete the addition of your new alias, click “Submit.” If you are planning to add multiple aliases, select “Submit and Create Another” to keep adding without going back to the beginning.
Conclusion
The Domains tool in cPanel is a powerful feature that simplifies the process of managing your domains and subdomains. Whether you’re adding new domains, creating subdomains, setting up redirects, or managing aliases, cPanel provides an intuitive interface for all your domain management needs. By familiarising yourself with these features, you can ensure that your domains are configured correctly, improving your website’s accessibility and online presence. Remember to periodically review your domain settings in cPanel to make adjustments as your website grows and evolves.